How to Use Sculpture in Logic Pro: Build a Physical Modeling Sound
Sculpture starts with a vibrating string. Separate what excites it, what it is made of and where you hear it, then the unusual controls begin to make sense.

Sculpture is Logic Pro’s physical modeling synthesizer: it makes a sound by modeling a vibrating string, then shaping how that vibration is excited, damped and picked up. Start with one active object, choose a material, and move a pickup before adding modulation. That gives each change a job you can understand.
I’d reach for it when a part needs a plucked, struck or bowed character with more flexibility than a fixed recording. If your starting point is an imported sample or layered synthesis engines, Alchemy is a different route. This guide covers Sculpture on Mac, and its controls and examples follow Apple’s current Mac documentation.
Load Sculpture and isolate the source
Create a software instrument track, open its Instrument slot and choose Sculpture. Start from a supplied setting whose basic character is close to the part. Apple recommends studying existing settings one component at a time. A complex preset is useful, provided you don’t mistake its modulation and effects for the string itself.
- Keep the monitoring level modest. Save a separate plug-in setting before changing a sound you want to keep.
- Turn off Objects 2 and 3 with their numbered buttons. Leave Object 1 on and its Strength above zero.
- Choose Pick in Object 1’s Type menu for a plucked starting point. Use KeyOn as the initial gate choice.
- Temporarily turn off the filter, Waveshaper, delay and Body EQ if they are active. Leave the amplitude envelope in place.
- Play or loop a short MIDI phrase with a few separated notes. Keep that phrase unchanged while you compare the next edits.
These are starting decisions. They don’t add up to a preset with a promised sound. A held note, a short repeated note and a chord reveal different behavior. Begin with separated notes so you can tell the attack apart from what happens as the vibration fades.
With Object 1 still set to Pick, compare two notes at the same pitch but different velocities. Adjust its VeloSens slider to decide how strongly the excitation should respond to that difference. Reducing it toward 0 reduces velocity sensitivity. Apple’s object controls identify Object 1 as velocity-sensitive. Set that response first so you don’t mistake a harder-played note for a change in material or pickup position.
In Apple’s excitation type table, Pick is the actual menu label. Strike, Bow and Blow are other excitation models. Changing Type also changes what Timbre and Variation mean, so don’t assume a knob value transfers between models.
Choose the material before polishing the tone
The Material Pad isn’t a preset browser or an XY filter. Its horizontal axis controls Stiffness, and its vertical axis controls Inner Loss. Apple’s material controls describe these combinations:
| Stiffness | Inner Loss | Useful starting character |
|---|---|---|
| Low | Low | Metallic string |
| Higher | Low | Bell or glass |
| Low | Higher | Nylon or catgut |
| High | High | Wood-like |
Move the ball a little, then replay the same phrase. For a rounded pluck, explore the lower-stiffness side with more loss. For a ringing, less string-like sound, explore higher stiffness with less loss. These are directions to investigate. None of them guarantees that the pad will reproduce a particular acoustic instrument.
Higher stiffness can move overtones away from exact multiples of the fundamental. If a bell-like patch seems harmonically uneasy across the keyboard, revisit Stiffness and Resolution before treating it as a simple tuning error. Apple notes that very low Resolution values give an inharmonic spectrum even with Stiffness at 0, while higher values calculate more precisely and raise the processing load. Inner Loss also changes how the tone mellows during decay, so it affects the body of a note as well as its initial color.
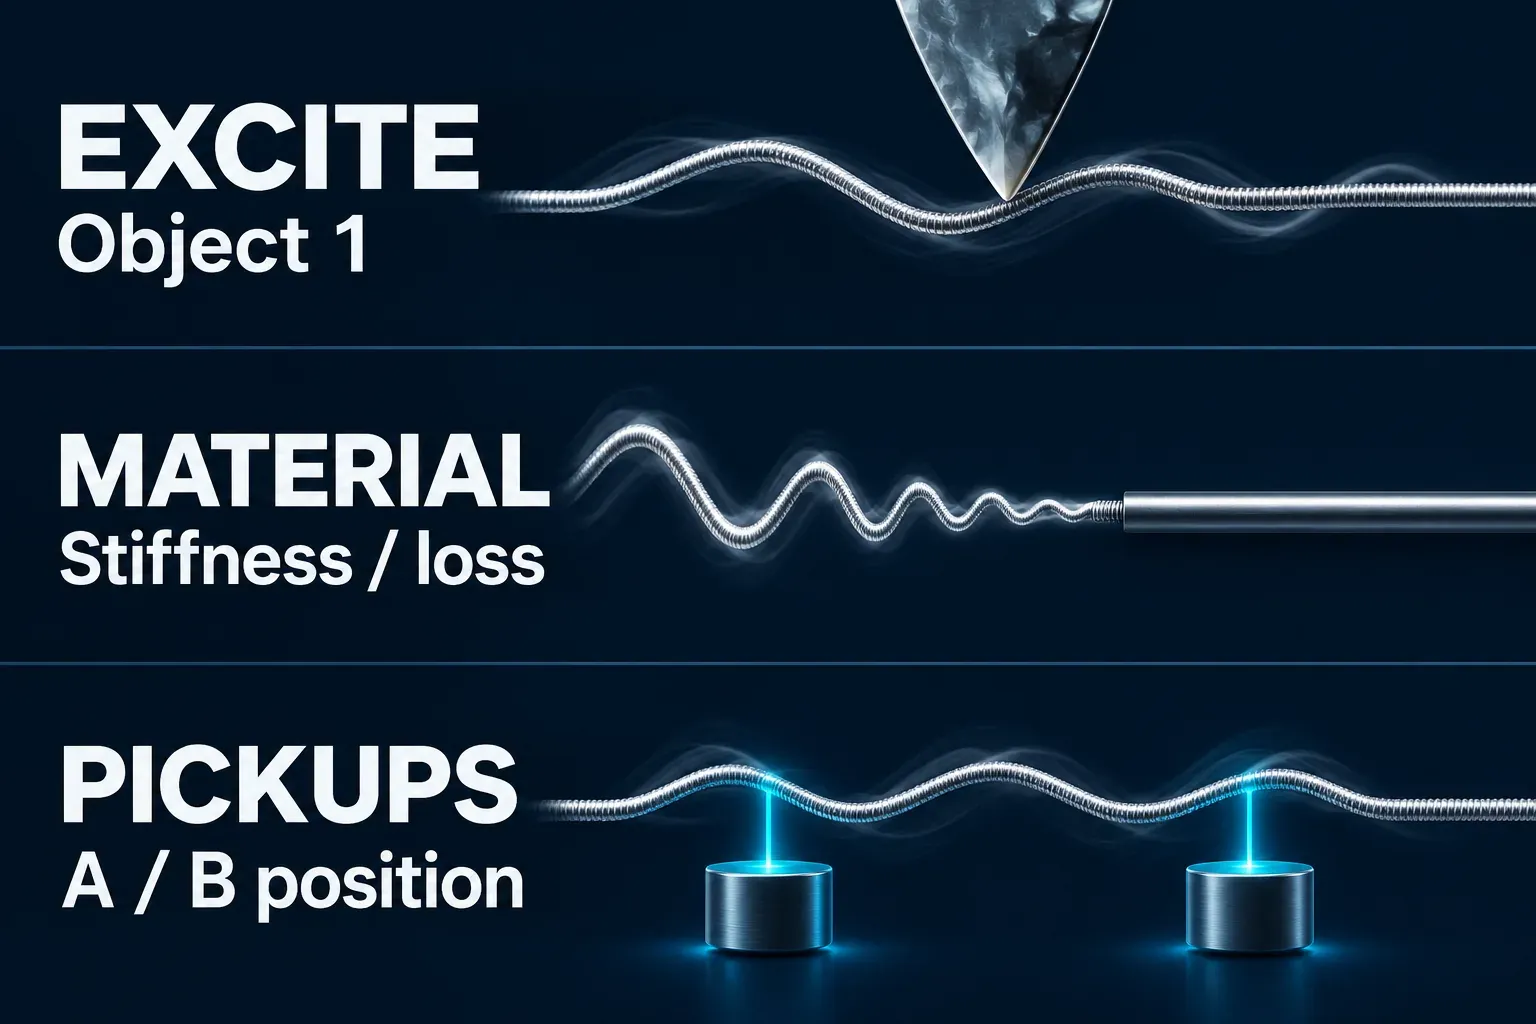
Separate the object position from the pickup position
An object determines how and where the string is acted on. A pickup determines where its vibration is read. Moving a pick along a string and moving the place you listen to it are different changes, even when both alter brightness.
Drag Object 1’s position in the string display while keeping the material and pickup positions fixed. Compare the attack and harmonic balance. Then hold the object position still and move Pickup A or B. Apple’s pickup instructions describe the two signals and the Invert control: it reverses Pickup B’s phase, so the result depends on the pickup positions and their interaction. It isn’t a universal widening button. For width, drag the Pickup Spread control to the right of the Material Pad to spread the two pickups across the stereo field. Key Spread pans each voice by note number instead.
Use the objects deliberately:
- Object 1 excites the string. Use its Type, Strength and position to establish how the note begins.
- Object 2 can excite, disturb or damp it. Add it when you can name the extra behavior you want.
- Object 3 disturbs or damps. It is not a third interchangeable sound generator.
Apple’s object model description makes the interaction important: adding another object can change what the first one does. If the patch becomes thin or stops ringing, undo the new object before rebuilding everything around it.
Fix note length at the string and the envelope
Sculpture’s amplitude envelope scales the pickup signals before the Waveshaper and filter. Attack, Decay, Sustain and Release shape that signal, but they can’t restore a vibration that the model has already lost. Apple explicitly notes that long envelope times can still produce a short sound when Inner Loss, Media Loss or damping objects make the string decay quickly.
If a note dies while you hold the key, inspect the material losses and Objects 2 and 3 before increasing Release. If it stops only when you let go, compare the Release setting and the active objects’ gate modes. KeyOn acts from note-on to note-off. Always stays active through the release phase, and KeyOff starts at note-off. Gate describes when an object acts. It doesn’t guarantee that the object sustains every excitation type.
For a bowed texture, change Object 1 to Bow and explore its Strength and Timbre with a held note. For a short pluck, return to Pick and use a phrase with space between notes. Keep one useful version of each rather than trying to make one patch do both jobs.
Set the keyboard behavior after the core tone works. Poly is the starting choice for chords. Mono or Legato suits a single-line part. In Sculpture’s global controls, Legato glide requires overlapping notes and a nonzero Glide value. Voices tops out at 16, so choose enough for the arrangement and its tails. The instrument’s Transpose field moves by octaves, so use a MIDI note edit when you need to change the written pitches by another interval.
Make one controlled morph
The Material Pad chooses string properties. The separate Morph Pad blends stored parameter states. It has five points: A, B, C, D and Center. Only morphable parameters belong to these states; Apple identifies them with orange value bars.
- Save the stable starting setting. Control-click the Morph Pad and choose Copy selected Point, then Paste to all Points to start the points from the same sound.
- Select a corner point. The selected edit point has two concentric circles; click the circles to select it manually. With Auto Select enabled, moving the ball selects the nearest point.
- Change one morphable property at that point, such as Object 1 Strength. Leave the other points alone.
- Move the morph ball between the original state and the changed corner while replaying one note. Judge both the endpoints and the route between them.
The copy and paste commands act on morph data, and the selection rings show which point you’re editing. Keep those two actions separate. A moving ball alone doesn’t create different states, and the pad isn’t a crossfade between five complete instrument plug-ins.
I’d postpone randomization and recorded morph envelopes until this small change is useful in the part. A dramatic endpoint means little if the transition becomes too quiet or harmonically distracting.
Add the body and effects after the performance works
Bring back one processor at a time. Use the filter for the remaining tonal balance and the Waveshaper when you want nonlinear color. Body EQ is a separate stage: it processes the summed signal from all voices and can supply either basic EQ or a modeled body response. Its controls depend on the chosen model, as Apple’s Body EQ overview explains.
Add delay after the dry phrase has a clear rhythm. Compare at similar listening levels, then try the part alongside the bass and drums. A ringing solo patch may need less sustain in a busy arrangement. A small, percussive patch may leave exactly the space the song needs.
When a change does not behave as expected
- No sound: check the selected instrument track, MIDI input and output level, then confirm an excitation object is on and its Strength is above zero. A modeled string does not sound by itself.
- A new object kills the note: disable that object and review its Type, Strength, position and gate. Disturbance or damping can overpower the behavior you wanted.
- The note is too short: separate envelope timing from string losses and damping. A longer Release is only one part of that decision. If the tail spikes or drops out partway through the decay, lower the Tension Mod slider first, then Resolution. Apple warns that Tension Mod can make the model unstable, especially with low Media Loss and Inner Loss values.
- Moving the Morph Pad changes nothing: check that the stored points differ and that you edited a morphable parameter at the intended point.
- A chord loses notes: check Poly mode and the voice count before rewriting the MIDI part.
- The animated string is distracting or costly: Control-click the green string display to toggle its animation. Apple notes that the animation itself uses processing resources; hiding it does not change the pickup positions.
Finish with a saved setting and a short MIDI part that demonstrates its useful range. Write down the material, excitation choice and one performance control that matters. That’s a more repeatable result than a complex patch whose behavior you can’t explain. For the surrounding arrangement, continue through the Create Music guides.


