How to Remove Background Noise in Logic Pro
A quieter pause is only half the job. Match the cleanup to the noise, protect the performance and know when stock tools have reached their limit.

To remove background noise in Logic Pro, first decide whether it sits between phrases or underneath the sound you want. Edit or gate the gaps. For steady hiss that continues under a voice or instrument, try Legacy Denoiser at a restrained setting. Use EQ for a specific rumble or hum, and stop when the cleanup starts damaging the performance.
I’d keep a little unobtrusive room sound before accepting a voice with missing consonants or a watery tail. The goal is a usable recording, and that isn’t the same as the quietest possible waveform. The workflow below is for Logic Pro on Mac and starts with its included tools.
Choose the cleanup that matches the noise
- Noise only between words or notes: trim or use Remove Silence, then check fades. Choose Noise Gate when adjustable attenuation is preferable. These approaches still let noise through with the wanted sound.
- Steady broadband hiss under the performance: try Legacy Denoiser with modest reduction. Too much processing can blur detail or create artifacts.
- Low rumble or a stable narrow hum: use a Channel EQ highpass or a narrow cut, according to the noise. Wanted audio in the same frequencies is reduced too.
- Clicks, intermittent bangs, crowd voices or a reverberant room: make local edits where possible; otherwise consider a tool designed for that problem or a new take. A gate or one static EQ cut cannot separate every overlapping sound.
Solo the affected track and compare a noise-only gap with a quiet phrase and a loud phrase. Bypass existing effects one at a time. If the noise appears only after an amp effect or a noisy processing chain, investigate that stage before treating the original file. Noise that’s already audible in the unprocessed recording needs work on the recording itself.
Keep the original and choose an honest comparison
Save a project copy before editing. Keep an untouched version of the recording available, and do not overwrite its source file with a cleanup experiment. A duplicate track is useful for comparison, but it may still refer to the same underlying file. Copying a region does not make destructive file editing safe.
Choose a short passage that includes a gap, a soft word onset, a sustained sound and its decay. Loop it while setting the processor, then listen to the entire take. Match the apparent level when comparing processed and bypassed audio. A quieter voice isn’t evidence of better noise removal.
My default is to clean the individual noisy track before reverb, delay and heavy compression. That makes it easier to hear what the cleanup changes. It’s a starting point, and not every chain has to follow it.
Reduce continuous hiss with Legacy Denoiser
Denoiser is still documented among Logic’s legacy effects. To reveal it, hold Option while clicking an Audio Effect slot on the affected channel strip, then choose Legacy > Denoiser. Apple’s legacy effects instructions explain why the submenu is hidden during an ordinary click.
This is frequency-based noise reduction. Apple describes Denoiser’s FFT analysis and main controls: it reduces lower-level frequency bands with less complex harmonic content. It doesn’t simply close the entire track during a pause, and it doesn’t offer a Learn button for a captured noise profile.
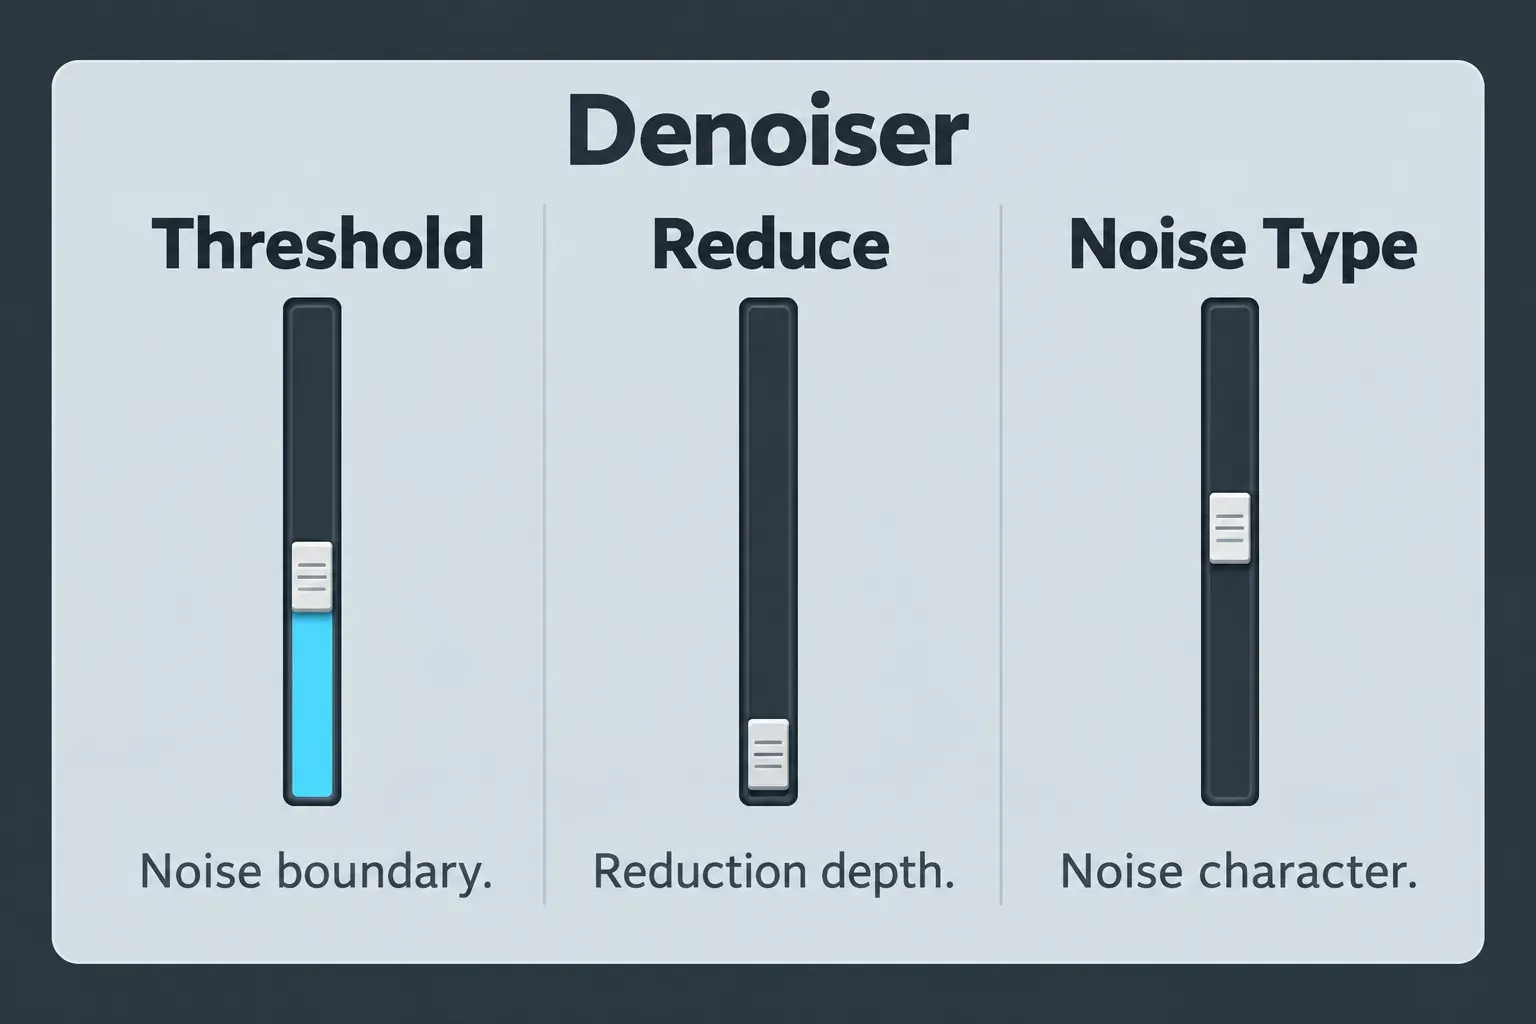
- Start with a noise-only passage. Locate a gap containing the same hiss you hear beneath the performance. Use it to place Threshold around the unwanted low-level content, then immediately check the quietest wanted sound.
- Bring in Reduce gradually. Increase the amount of attenuation only until the hiss is less distracting. Avoid starting with an extreme reduction and trying to rescue the resulting voice afterward.
- Revisit Threshold on the soft phrase. If the beginning of a word, a breath you want, or a decaying instrument disappears, back off. A threshold that identifies the gap neatly can still be too aggressive for the performance.
- Adjust Noise Type when needed. Apple defines 0 as white noise, positive values toward pink noise and negative values toward blue, hissy noise. Treat this as a character control; there is no universal number for a microphone, fan or room.
- Address artifacts before chasing more silence. If the result becomes metallic, unstable or smeared, reduce the amount of processing first. Then consider the smoothing controls below.
- Check beyond the loop. Listen across louder and quieter sections, and through any later compression or reverb. Keep the setting only if the performance still sounds intact.
There’s no dependable Threshold/Reduce preset for every recording, because both the noise level and the quietest wanted detail matter. A fan may also change speed during a take, so a setting chosen from one gap might not suit the rest.
Use smoothing for artifacts, not as a license for heavier reduction
Apple documents three Denoiser smoothing controls. Frequency spreads the transition across neighboring frequency bands. Time changes how quickly maximum reduction is reached and released. Transition smooths across neighboring signal levels.
Change one at a time while listening to the same phrase. If smoothing makes consonants indistinct or blurs an instrument’s attack, return to less reduction. These controls manage side effects. They can’t guarantee separation when noise and useful detail occupy the same part of the recording.
Clean the pauses without changing the timing
For a few isolated noises, split or trim the audio regions around them. Leave enough space for the first consonant and the end of the note. Add short region fades at edit boundaries when needed to avoid abrupt changes.
For a longer take, Control-click the audio region and choose Split > Remove Silence from Audio Region. The window previews the new regions before you click OK. In Apple’s Remove Silence workflow, Threshold defines what’s retained. Minimum Time to accept as Silence controls how long a below-threshold section must last to become a gap.
Use Pre Attack-Time to protect the lead-in and Post Release-Time to keep the tail. Search Zero Crossings can align the cut points to waveform zero crossings. Inspect the result and check transitions by ear. None of those options identifies every important syllable for you.
Remove Silence creates regions while preserving their positions. It doesn’t automatically shorten the timeline. For synced dialogue or music, leave those positions intact. Do not use Shuffle Left or close every gap just to make the display look tidy.
If you prefer processing that remains adjustable during playback, use Noise Gate with appropriate threshold and timing. As Apple’s Noise Gate documentation explains, signals above its threshold pass through. Noise under the wanted voice passes through as well, so raising the threshold until words vanish is the wrong remedy. Choose Dynamics > Noise Gate from the channel strip’s Audio Effect menu and use Gate mode. Loop a pause and the quietest wanted phrase. When their levels are distinct, place Threshold between them and use Reduction to set how much the closed gate attenuates. Adjust Attack to preserve the onset, Hold to avoid closing inside a word, and Release to retain a natural ending. Apple’s gate controls define those separate jobs. If noise and quiet speech overlap in level, back off instead of forcing the threshold higher.
Target hum or rumble with EQ, without hollowing out the track
Click the channel strip EQ display or choose EQ > Channel EQ in an Audio Effect slot. Apple’s Channel EQ overview documents its highpass filter, parametric bands and spectrum analyzer.
For low rumble, start with the highpass filter and raise its cutoff only while the wanted sound retains its body. A speaking voice, low guitar and bass instrument need different treatment. Avoid copying a vocal cutoff onto every track.
For a stable hum, use the analyzer and listening together to locate the narrow component. Make a restrained narrow cut, then compare the whole phrase. If additional narrow components remain, assess them separately. The analyzer shows useful music as well as unwanted noise, so a peak isn’t proof that a frequency should be removed.
EQ changes everything in the affected band. A broad high-frequency cut can make hiss less obvious by also removing vocal clarity and cymbal detail. If each extra cut makes the performance duller while the noise remains distracting, return to the denoising route or consider specialist repair.
Recognize when stock cleanup is the wrong job
A chair knock during silence can be edited away. A plate crashing over the only usable word needs a more selective approach, and the missing detail may not be recoverable. Room reverberation, clipping and another person speaking over the subject are also different problems from steady hiss. Do not expect a stronger Denoiser setting to solve them all.
Music playing under a voice is one of those different problems, and Logic has a stock tool for it. On a Mac with an M1 or later Apple silicon processor, Control-click the region, choose Processing > Stem Splitter, select only the vocal stem and click Apply. Apple’s Stem Splitter instructions put the result in a summing stack below the track and mute the original region, so you can compare the two and keep the original if the separated voice sounds thin or smeared.
If you need a restoration package, check both the module and the format before buying. For example, iZotope’s current RX edition comparison separates available modules, plug-ins and the standalone editor. An editor feature listed in a bundle doesn’t automatically appear as a Logic Audio Unit. Choose for the actual defect and your workflow. Don’t pay for a name and expect every repair tool to show up in the insert menu.
For a new recording, I’d fix the source first: move away from the fan, improve microphone position, check the noisy connection or choose a quieter time. Leave headroom for the loudest passage. Lowering the whole track later lowers both voice and noise. It doesn’t improve their balance. The vocal recording workflow covers capture and monitoring decisions.
Before you keep the cleaned take
- Check soft consonants, breath detail, sustained notes and decays, not just silent gaps.
- Compare at a similar listening level, both solo and in the mix.
- Listen for noise swelling between phrases, metallic residue, softened attacks and clicks at edits.
- Confirm that edits have preserved timing and that the original recording is still available.
- Listen to the exported file, including the quiet beginning and ending. Later processing can make residual noise more obvious.
Keep the lightest cleanup that makes the recording useful. If the choice is an audible room tone or damaged words, protect the words. For the next editing step, use the Record & Edit guides.


