How to Use Drum Kit Designer in Logic Pro
Keep the groove and change the acoustic kit. Learn which pieces you can exchange, what the three main controls do, and when multi-channel microphones help.

Drum Kit Designer changes the acoustic drum sounds, not the groove. On an acoustic Drummer track, open the instrument from its channel strip. Click a kit piece to expose its Edit pane, then use Tune for pitch, Dampen for sustain and Gain for level. Choose a multi-channel kit when you need individual microphone channels and room options.
I’d settle the performance first, then change the sound that’s getting in its way. A longer snare tail can crowd the next hit, and a different kick can change the balance against the bass. Neither problem calls for generating another rhythm. This guide covers Drum Kit Designer in Logic Pro for Mac.
Open the acoustic instrument, not the performance editor
If you already have an acoustic Drummer part, select that track and click the center of its Instrument slot in the Inspector or Mixer. Do not look in Audio FX. Apple’s plug-in instructions distinguish the instrument slot from the audio-effect slots, and clicking the center of an occupied slot opens its window.
With no Drummer track yet, choose Track > New Tracks, select the Drummer Session Player, choose an acoustic style in Details and click Create. Apple’s current Session Players overview confirms that acoustic Drummers use Drum Kit Designer, while electronic Drummers use Drum Machine Designer. The Drummer workflow covers patterns, fills and performance controls separately.
You can also choose Drum Kit Designer from a software-instrument channel strip’s Instrument menu when you want to play or program MIDI yourself. With a multi-channel patch, expand the kit’s Track Stack and find the channel holding the instrument. A stack’s summing channel or a microphone aux may show effects without holding the drum instrument. Inspect the actual Instrument slot instead of assuming every subtrack opens the kit.
Once open, click the kick or snare in the kit image. This previews the piece and opens Edit on the right. Exchange opens on the left only when replacement pieces are available. Click the window background to close the panes.
Know which drums your patch can exchange
The limits depend on the loaded kit. Apple’s kit-editing and exchange instructions make an important distinction that older tutorials often skip:
| Task | All kits | Multi-channel kits |
|---|---|---|
| Edit pitch, sustain and level | Yes, per kit piece | Yes, per kit piece |
| Exchange kick and snare | Yes | Yes |
| Exchange toms, cymbals and hi-hat | Not available in standard kits | Yes, where replacements are available |
| Leak, overhead and room settings | Not in standard kits | Available |
Click the piece you want to replace, then choose a replacement in the Exchange pane. Scroll if necessary. The Info button shows a selected piece’s description. Toms and crash cymbals exchange as groups, so changing one doesn’t guarantee an independent sample swap for every drum shown. Editing one tom’s settings works differently, because the Edit pane has individual tabs as well as All.
Drum Kit Designer selects from its supplied acoustic pieces. If what you want is to drag a personal WAV onto a pad, use the Drum Machine Designer custom-kit workflow. Its sample pads and subtrack instruments are a different system. The similar name doesn’t make the two interchangeable.
Shape a piece before processing the whole kit
Select the piece first. Drag a control vertically or double-click its value field to enter a value. Apple’s Edit pane reference defines the three core controls:
- Tune changes the selected piece’s pitch. Use it to fit the drum’s body against the bass or other resonant instruments. It does not move the hit in time.
- Dampen changes its sustain. Use it when a ringing snare or tom overlaps the next musical event. It is not the timing or velocity of the MIDI note.
- Gain changes its volume. Rebalance after changing pitch, sustain or the selected drum so loudness alone does not decide which version wins.
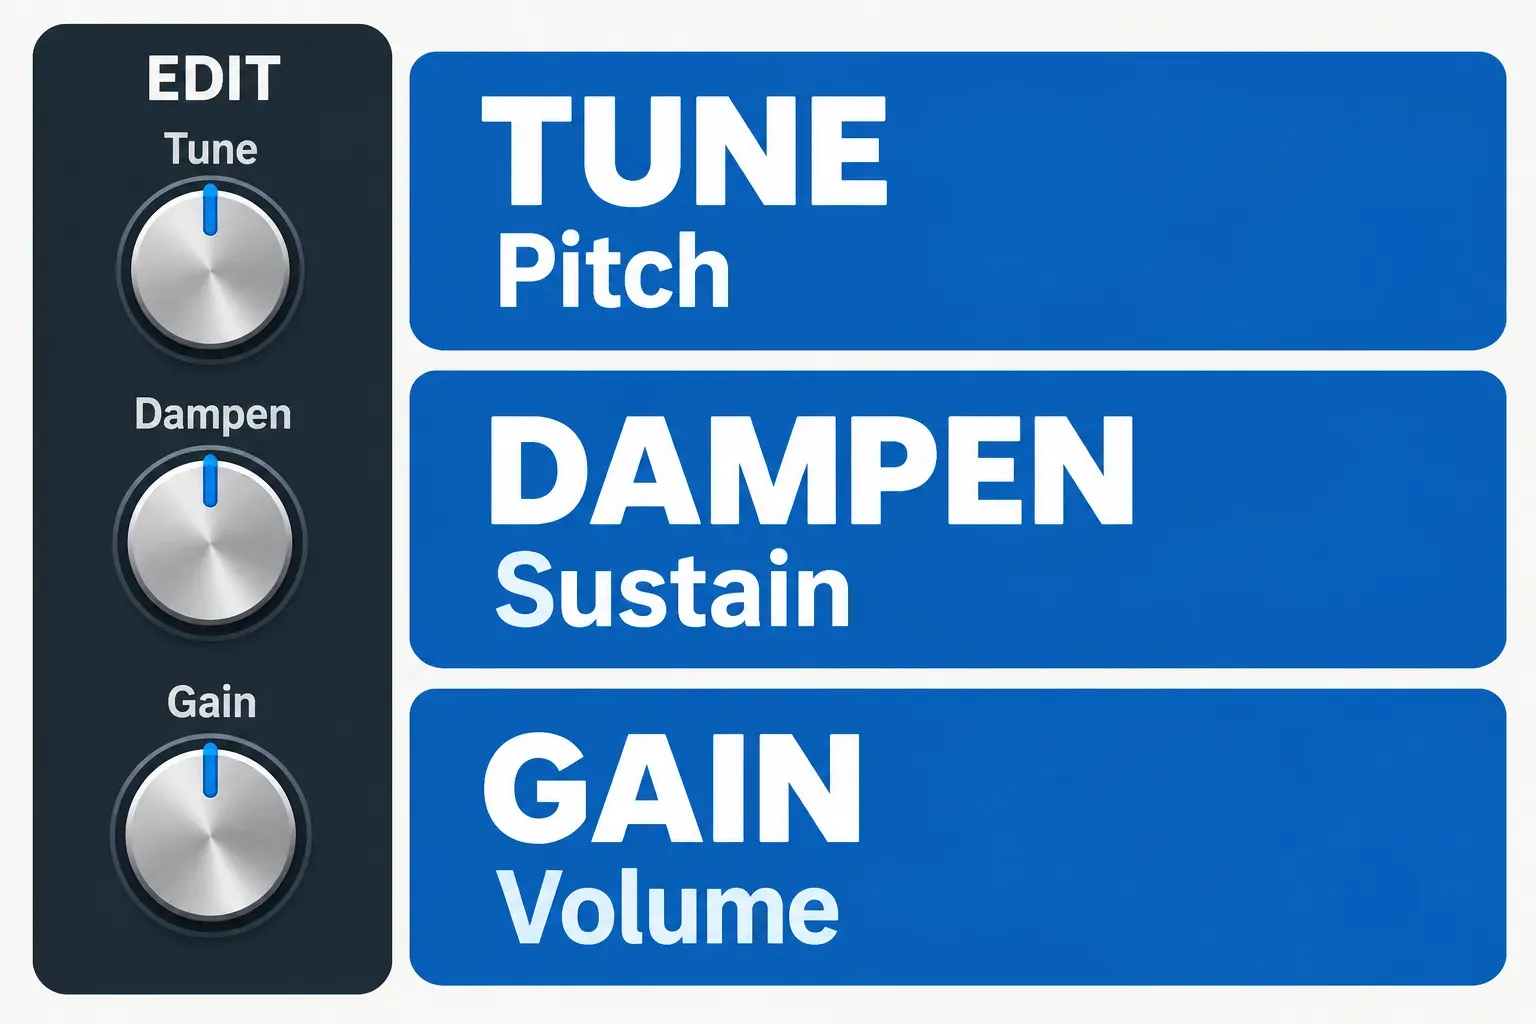
For toms, select a tom tab or All. For crash cymbals, choose an individual tab or All; the ride can be edited directly. Kick and snare use the controls without those tabs. Check the selected tab before changing Gain if only one tom or crash cymbal should move in the balance.
A practical sequence is to keep one stable pattern playing, choose the piece, adjust its sustain, assess tuning and then level-match. Change one property at a time. If the problem is the placement or strength of a particular hit, edit the performance or MIDI event instead of trying to solve it with a kit-wide sound change.
Choose a “+” kit for microphones and separate mixing
The ordinary acoustic patches use a stereo mixdown of a multi-miked kit, optimized for performance. Multi-channel patches expose the individual microphone channel strips, their processing and routing. In the Library, open Acoustic Drums > Multi-Channel Kits and choose a patch with + at the end of its name. Apple’s current multi-channel kit guide also requires the Multi-Channel Drum Kits sound pack.
Save the project before changing the patch so you can recover the current mix. Expand the Track Stack to inspect the available channels. Work on a microphone channel when that microphone needs EQ or compression. Use the kit’s main channel when the whole drum balance needs shared processing. A room microphone can contain several pieces, so a change there can affect more than the snare you were focusing on.
In Drum Kit Designer, select a piece and inspect these conditional Edit controls:
- Leak includes that piece in microphones assigned to other kit pieces. Turning it off removes that bleed contribution; it does not erase the piece’s own direct sound.
- Overheads includes the selected piece in the overhead microphone sound.
- Room switches its room microphones off or chooses room setup A or B.
These controls work on sampled microphone relationships. They don’t give you a new recording session. I’d compare the kit with and without room and overhead contributions in the song before adding a separate reverb. Turning every ambient contribution off can make individual pieces easier to isolate while changing the sense of a shared kit. Apple documents the exact switch behavior in its microphone-setting instructions.
Keep phase relationships intact: Apple specifically requires plug-in latency compensation set to All in Audio General settings for multi-channel kits. This concerns the phase-coherent playback of the microphone channels. For live playing, Apple recommends the stereo mixdown patches. Low Latency Monitoring is a separate monitoring choice and doesn’t replace the multi-channel compensation requirement.
Match the MIDI map to your keyboard or drum controller
Open the disclosure arrow at the bottom left of the plug-in to reveal extended parameters. The Input Mapping menu offers GM, GM + ModWheel controls HiHat opening level, and V-Drum. Apple’s mapping diagrams and mode instructions are the reference for the notes in each mode.
Start with GM for a conventional General MIDI pattern. Choose GM + ModWheel when your performance should use the keyboard modulation wheel to control hi-hat opening. V-Drum is the documented mapping for that trigger layout. Selecting it doesn’t prove that every electronic kit’s pedal and cymbal features will work without controller-side configuration.
If a pad plays the wrong piece, compare the note your controller transmits with the selected map. When clicks on the kit image preview the right sound but MIDI doesn’t, investigate incoming notes and mapping before replacing samples. Keep the instrument’s chosen map consistent with the pattern you record or import.
The same extended area provides Gain sliders for available percussion sounds such as shaker, tambourine, claps, cowbell and sticks. Apple’s extended-parameter reference qualifies those sliders by what the kit contains. An absent sound doesn’t mean every patch hides the same percussion collection.
Fix missing controls and preserve the useful kit
No Exchange pane for a cymbal: check the patch type and replacement availability. Standard kits exchange kick and snare. The wider exchange choices require a multi-channel kit. Additional pieces and kits may also require downloaded content. Use the Sound Library guide for pack and storage problems.
No Leak, Overheads or Room: first confirm that a multi-channel “+” patch is loaded, then select a kit piece. These controls are conditional. Increasing the plug-in window size or looking in an electronic DMD kit can’t add them to a standard acoustic patch.
The kit opens but the rhythm is wrong: return to the Session Player Editor or the MIDI region. Tune, Dampen and Gain change the sound. They don’t alter a fill or move a snare. For detailed note timing, use the Piano Roll workflow rather than repeatedly switching drum patches.
You want to reuse the edit: use Save Setting As in the instrument’s Settings menu to name a new variation, and save the project. Apple’s plug-in setting instructions confirm that project files recall their settings. An instrument setting isn’t a backup of an entire multi-channel mix. Preserve the project when you need its microphone effects and routing too. The Create Music hub connects the finished drum sound to the rest of the arrangement.


